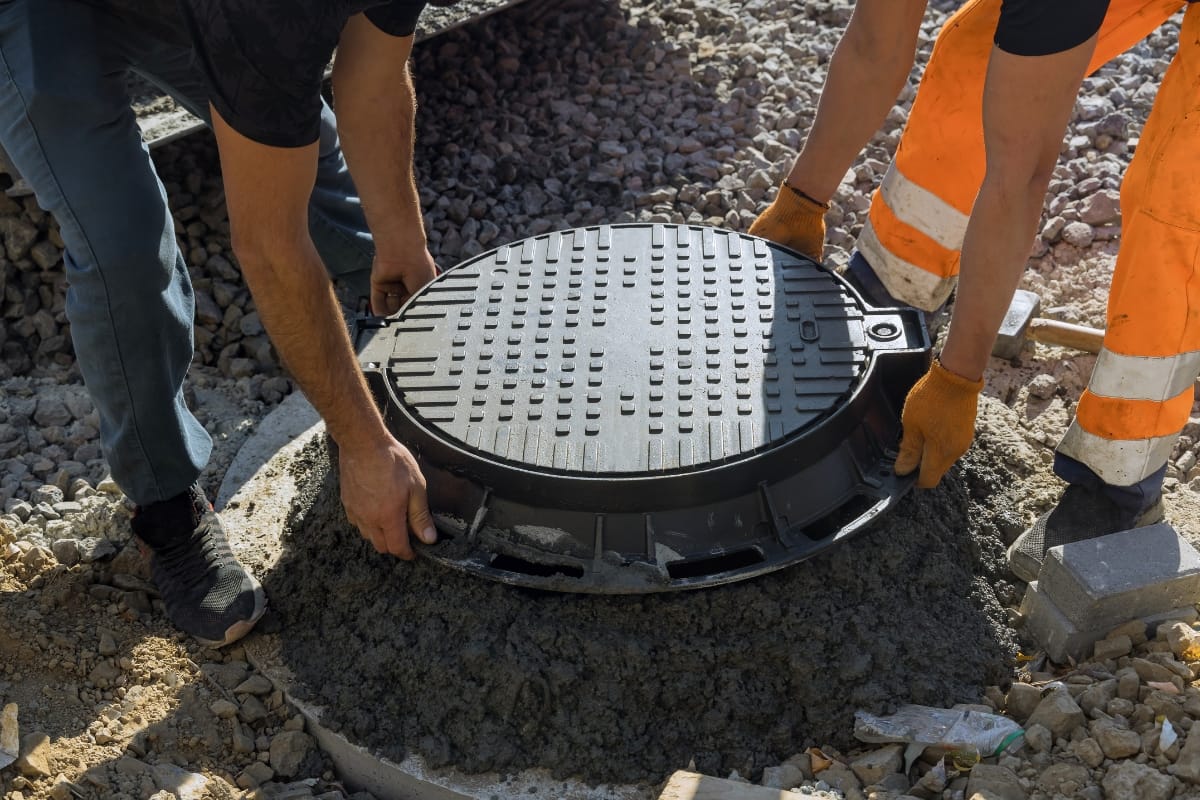
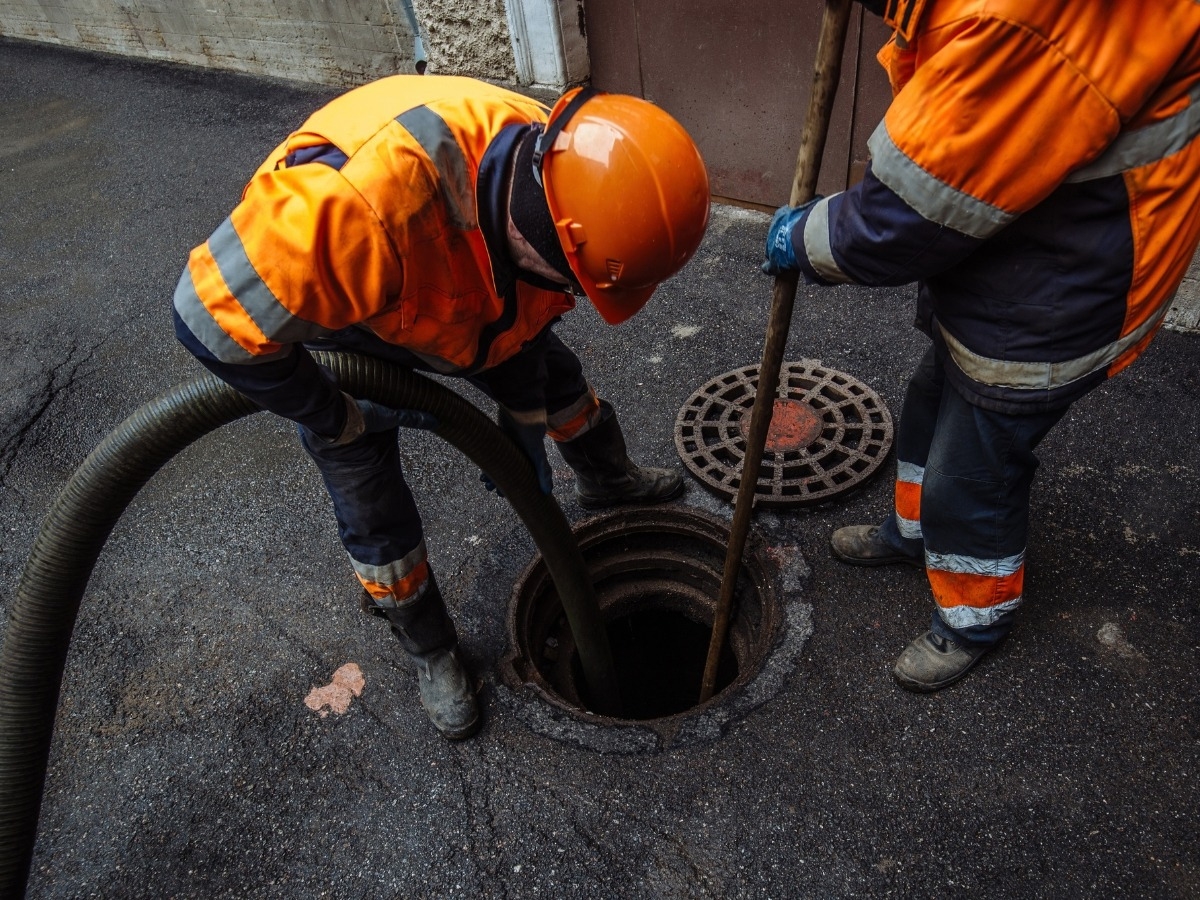
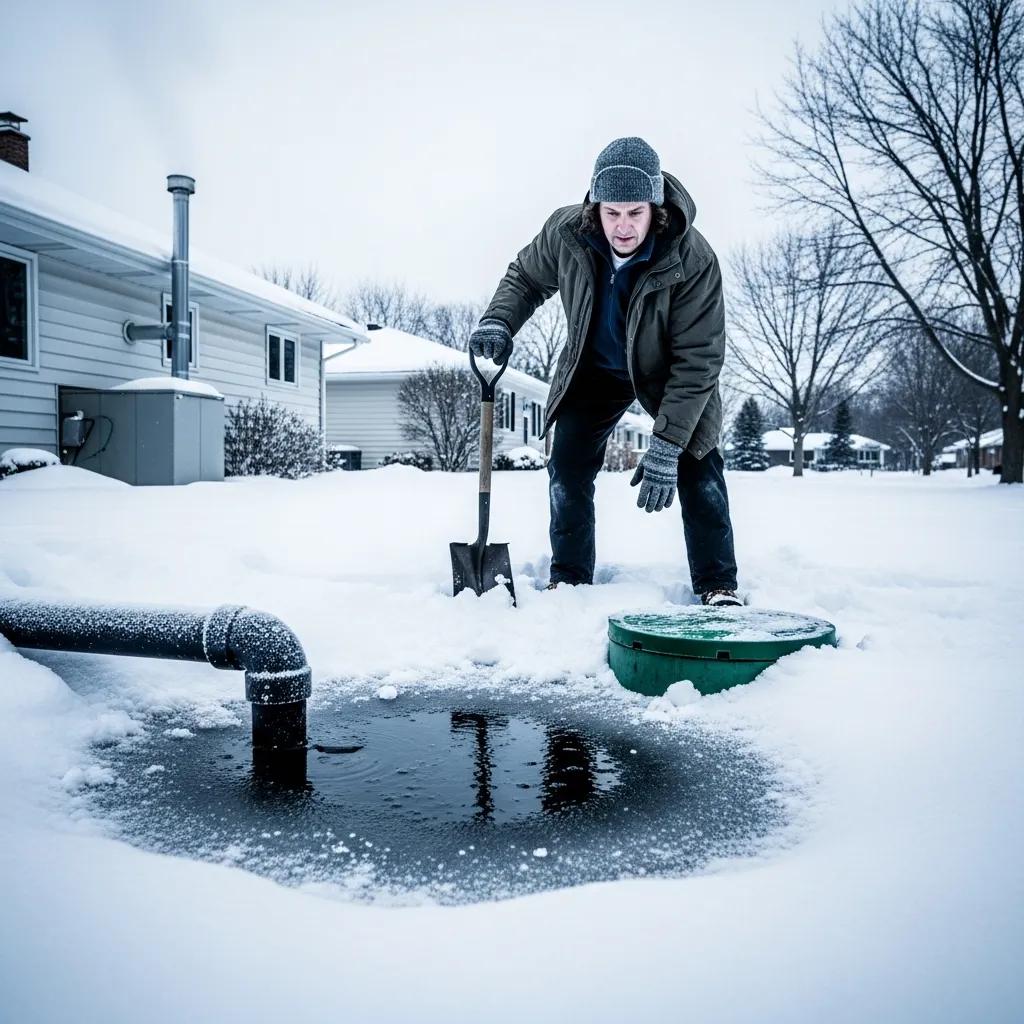
Replacing a septictank cover might seem like a challenging task, but with the right guidance, it can be done safely and effectively. Smart Septic Pros, your go-to provider for septictank installation, repairs, and maintenance in Acworth and Metro Atlanta, understands the importance of a well-maintained septic system.
Keeping your septictank in top shape starts with ensuring the cover is secure and in good condition. Ready to tackle this project? Keep reading to discover the necessary steps, safety measures, and maintenance tips that will help you guarantee that you replace septictank lids successfully and safely.
Don’t Ignore It! Time to Replace Septic Tank Lid
Preparing for SepticTank Cover Replacement
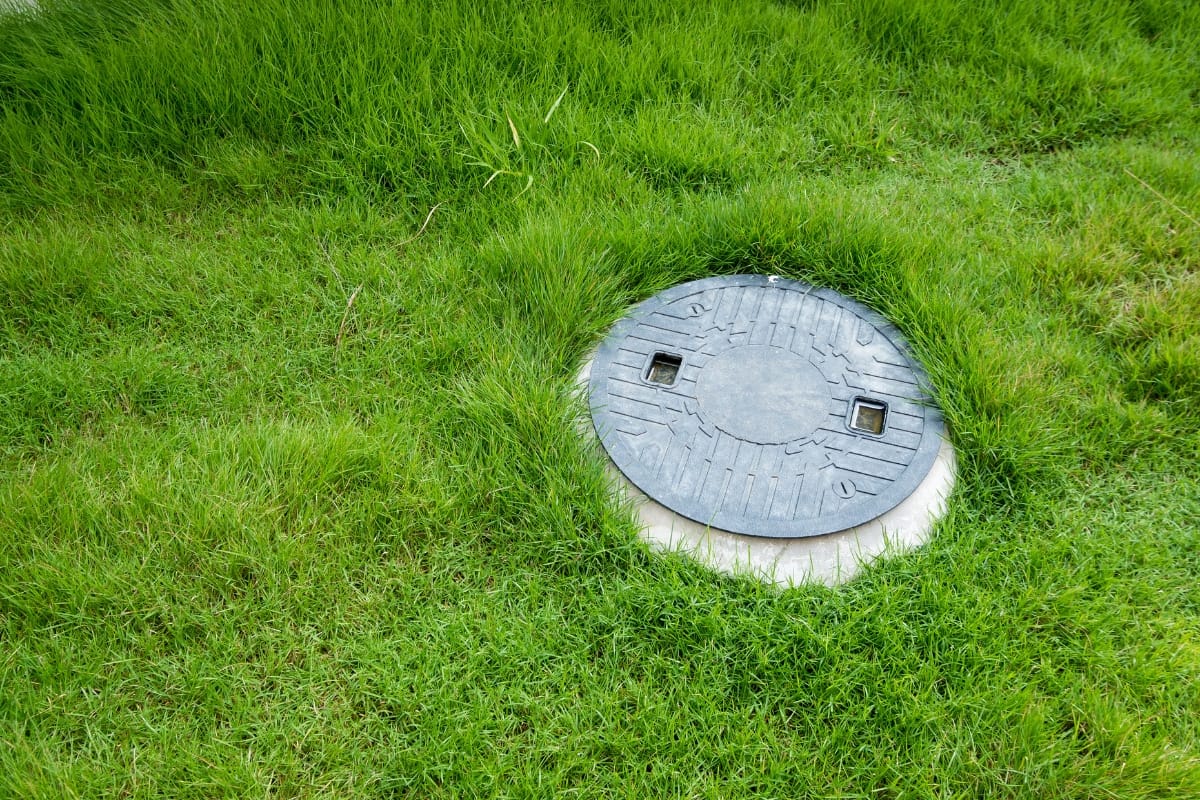
Before diving into the process of replacing a septic tank cover, it’s crucial to take a moment to assess the current condition of the existing cover. This includes checking for any signs of wear or damage that may have resulted from harsh weather or natural wear and tear.
Assessing the Current Condition of Your SepticTank Cover
When assessing the current condition of a septic tank cover, it’s crucial to inspect both septictank installation and cement options for any signs of rust, cracks, or deterioration.
A good cover should sit snugly on its base, with screws tightly fastened to prevent any unwanted access or leaks.
Any issues found may prompt the need for a septictank repairs; if that’s the case, it might be worth it to contact a reliable septic services professional to repair or replace it with a quality cover that suits your lawn’s needs.
Choosing the Right Tools for the Job
Having the right tools can make replacing a septictank cover much easier. At a minimum, you’ll want a sturdy pair of gloves, a shovel, and a reliable septicpump.
You might also consider a lawnmower for clearing the area around the septic drain field; ensuring there’s no overgrown grass or debris can help maintain safe access to the tank.
| Tool | Purpose | Price Range |
|---|---|---|
| Septic Pump | Pumping out effluent for safe cover replacement | $150 – $500 |
| Shovel | Digging around the cover | $15 – $40 |
| Gloves | Protection while handling equipment | $5 – $20 |
| Lawn Mower | Clearing grass near septic area | $100 – $500 |
Selecting a Suitable Replacement Cover
Choosing a suitable replacement cover is important to ensure functionality and safety. A sturdy cover is often recommended for its durability, especially if soil stability is a concern, as it can withstand the pressures from above and provide reliable access.
Additionally, for those who want to be cautious, using a metal detector can help locate buried utilities, ensuring that no surprises arise while installing the new manhole cover.
Securing the Area Around the SepticTank
Before starting on the replacement of a septic tank cover, it’s important to secure the area around the tank.
This means clearing away any debris or hazards that could impede the process, such as yard tools or furniture. Additionally, if there’s a riser kit involved, ensuring it fits snugly and keeping it accessible can help prevent accidents and provide convenient access for future maintenance.
With the old cover ready to be replaced, it’s vital to focus on safety. Let’s dive into the essential precautions everyone should take during this crucial process!
Safety Measures to Follow When Replacing Your SepticTank Cover
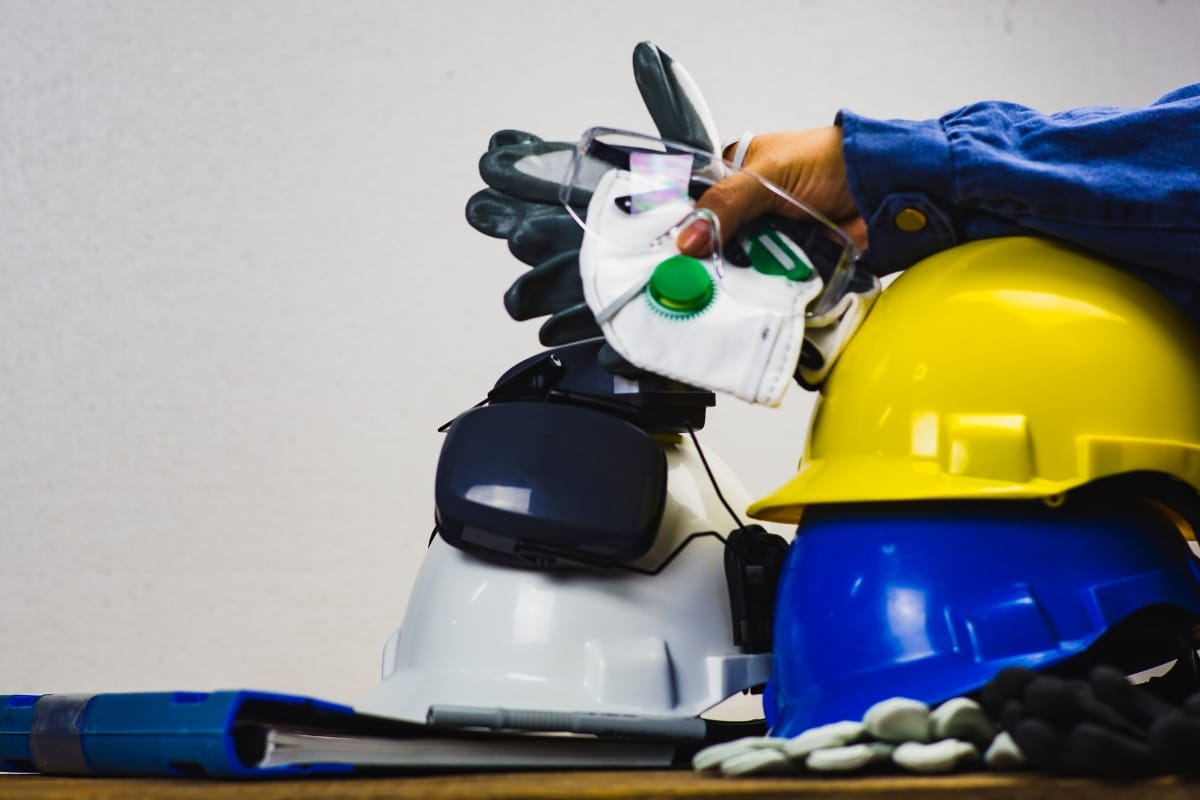
When it comes to replacing a septictank cover, safety should always be a top priority. This means wearing appropriate safety gear, such as gloves and a face mask, to protect against potential hazards around the septictank opening.
It’s essential to ensure proper ventilation in the area to avoid any build-up of gases that may escape from the tank. Informing all household members about the ongoing septictank installation work helps reduce unexpected surprises.
Additionally, keeping pets and children away from the work area is crucial to prevent accidents, especially around any exposed pipes or materials like metal and plastic that might be used during the septictank repairs process. Taking these precautions creates a safer environment for everyone involved.
Wearing Appropriate Safety Gear
Wearing the right safety gear is vital during septic lid replacement, especially when dealing with manhole covers. Gloves protect hands from sharp edges and potentially harmful materials, while a face mask keeps the area clear of dust and unpleasant odors often found around septic tanks.
Before getting started, homeowners should prepare by gathering their gear. This includes gloves, masks, safety glasses, and even sturdy footwear to handle the terrain. Proper equipment keeps everyone safe during this septictank installation process:
| Safety Gear | Purpose |
|---|---|
| Gloves | Protects hands from cuts and harmful materials |
| Face Mask | Prevents inhalation of dust and odors |
| Safety Glasses | Protects eyes from flying debris |
| Sturdy Footwear | Ensures safety on uneven, potentially hazardous terrain |
By keeping these essentials in mind, individuals can minimize risks during a septic cover replacement, making their project more straightforward and safer overall.
Ensuring the Tank Is Properly Ventilated
Proper ventilation around a septictank is crucial when replacing the cover. It helps disperse any harmful gases that may escape, like methane or hydrogen sulfide, making the area safer for everyone involved.
Homeowners should ensure that vents are clear and unobstructed to promote safe air circulation during the process:
| Ventilation Tips | Purpose |
|---|---|
| Clear vents | Allows gases to escape safely |
| Check for blockages | Ensures good air flow around the tank |
| Avoid working during high winds | Minimizes the risk of gas accumulation |
Checking ventilation not only protects those on-site but also helps maintain the system’s efficiency for the long run. Taking a few moments to prepare ensures a safe and effective replacement process.
Informing Household Members of the Ongoing Work
Before beginning work on replacing the septictank cover, it’s a smart idea to inform everyone in the household. This step is all about ensuring that no one accidentally wanders into the work area, especially children and pets. Keeping everyone in the loop helps prevent any surprises and encourages safety during the process.
| Action | Purpose |
|---|---|
| Inform household members | Prevents accidents and unexpected interruptions |
| Discuss safety precautions | Promotes awareness and responsibility |
| Designate safe areas | Keeps everyone away from hazards |
Having this conversation not only enhances safety but also fosters teamwork, creating a supportive environment while tackling the replacement task.
Keeping Pets and Children Away From the Work Area
Keeping pets and children away from the work area is vital when replacing a septictank cover. It’s essential to set clear boundaries to ensure everyone stays safe and away from potential hazards.
By explaining the situation to family members and designating specific zones, the chances of accidents happening decrease significantly, allowing for a smoother replacement process.
Now that the safety measures are in place, it’s time to kick off the process. Let’s dig into the steps needed to safely remove that old septictank cover!
Steps to Remove the Old SepticTank Cover
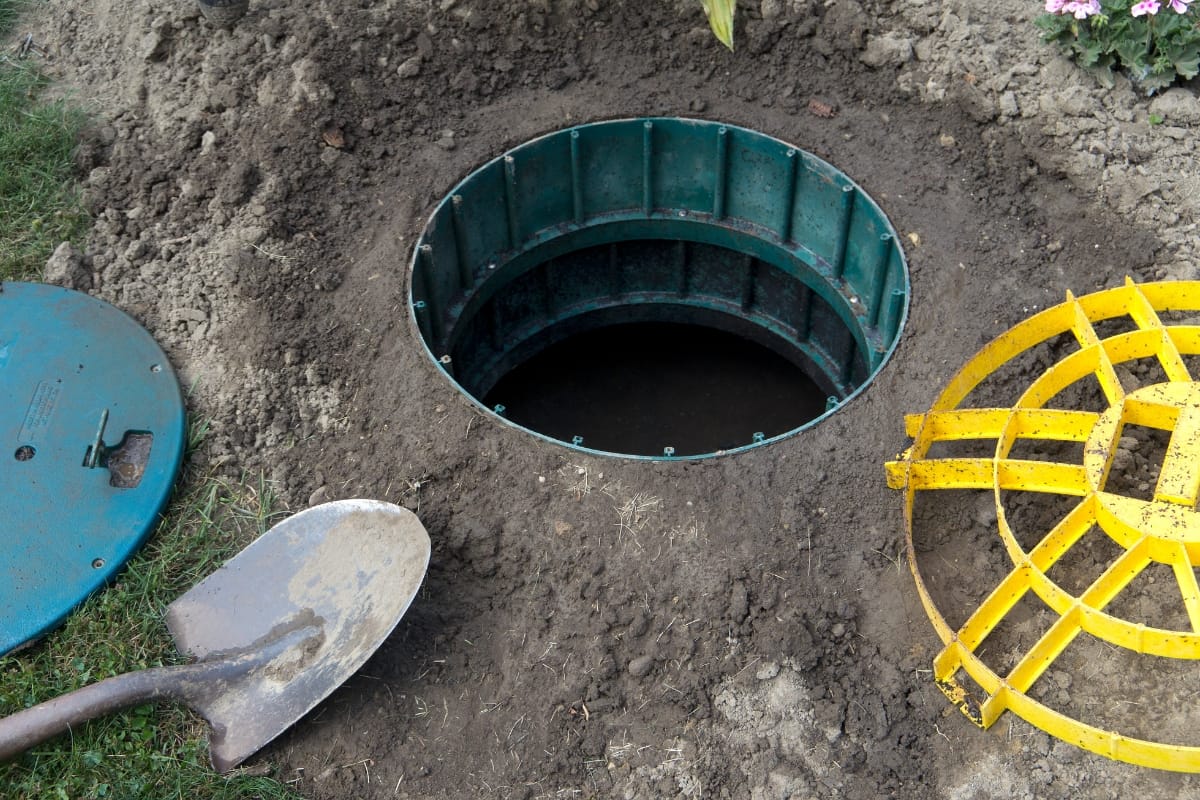
Now that the preparations are in place, it’s time to tackle the removal of the old septictank cover. This first involves locating the cover, which may be obscured by grass or other elements in the yard.
Once the cover is spotted, clearing away any debris and vegetation makes the area safe and accessible. With a clear path established, the next step is to carefully remove the old cover, ensuring not to cause any damage to the surrounding components. Taking these steps with care will pave the way for a straightforward replacement task.
Locating Your SepticTank Cover
Finding the septictank cover can be a bit tricky, especially if it’s buried under a layer of soil or vegetation. Homeowners should start by looking for any visible markers or warnings that indicate the tank’s location. If there are no obvious signs, using a metal detector may help locate the cover and any hidden utilities nearby:
| Finding Method | Description |
|---|---|
| Visible Markers | Search for warning signs or landscaping features pointing to the tank. |
| Metal Detector | This tool can help locate buried metal covers or pipes. |
| Existing Documentation | Check home records for diagrams indicating the septic system layout. |
Taking these steps increases the chances of finding the septictank cover quickly, making the whole replacement process easier. Once located, ensure the area is clear of debris for safe removal. Finishing this part well sets up the next steps in the cover replacement journey.
Clearing Debris and Vegetation Around the Cover
Before removing the old septictank cover, it’s important to clear away any debris and vegetation that may be in the way.
This includes cutting back any overgrown grass, weeds, or plants that could hinder access to the cover. Taking the time to do this not only makes the area safer but also prevents any accidental damage to the cover or surrounding components during the removal process.
Carefully Removing the Old Cover
When it’s time to remove the old septictank cover, caution is key. Carefully lift the cover using appropriate tools like a pry bar or a sturdy shovel, which helps avoid unnecessary strain and keeps the surrounding area intact. Always have a second person on hand to assist, ensuring safety and preventing the cover from tipping or falling during removal:
| Step | Description |
|---|---|
| Gather Tools | Use a pry bar or shovel to help lift the cover. |
| Secure Assistant | Have someone help stabilize the cover during removal. |
| Lift with Care | Gently pry up the cover to avoid damaging surrounding components. |
Once the cover is free, set it aside gently to avoid any impacts that could disturb the tank or cause injury to anyone nearby. Dispose of any debris around the tank as you prepare for a clean installation of the new cover.
Now that the old septictank cover is out of the way, it’s time to focus on installing your new cover. Get ready to enhance the safety and efficiency of your system with a fresh, durable upgrade!
Installing Your New SepticTank Cover
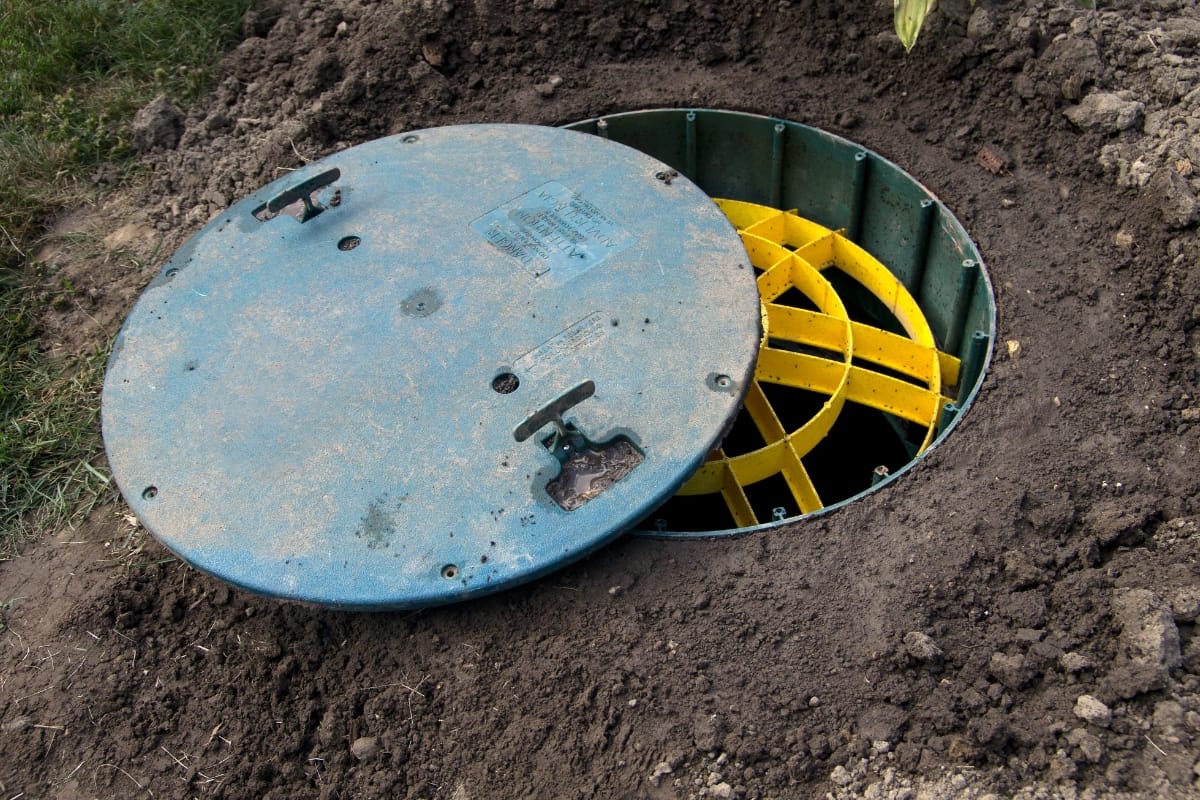
With the old cover removed, it’s time to focus on the new one. First, homeowners need to prepare the new cover for installation by ensuring it’s clean and free from any debris. Proper positioning is critical, so placing the cover directly over the opening is a must to avoid any misalignment.
Taking these steps paves the way for a successful installation that can provide peace of mind for years to come.
Preparing the New Cover for Installation
Before getting the new septictank cover in place, it’s important to assess its condition. Homeowners should ensure the cover is clean and free from any dirt or debris that might affect its fit.
Giving it a quick check for any damages is also a smart move to confirm that everything looks good for a smooth installation.
Positioning the New Cover Correctly
When positioning the new septictank cover, homeowners should take their time to ensure it sits evenly over the opening.
Aligning it correctly is essential to prevent any gaps that could lead to leaks or safety issues. A little adjustment may be needed to achieve a secure fit, so being mindful during this step will pay off in the long run.
Securing the Cover in Place
After positioning the new septictank cover, ensuring its security is essential to avoid any future mishaps. Homeowners should use the provided screws or bolts to fasten the cover snugly, checking that everything holds firmly in place. Giving it a gentle shake can help confirm that it is properly secured and ready for use.
Here’s a quick reference for securing the cover:
- Align the cover with the tank opening.
- Use screws or bolts to attach the cover securely.
- Check for tightness and stability by shaking the cover gently.
Checking the Cover for a Proper Fit
Once the new septictank cover is installed, it’s essential to ensure it fits properly. A well-fitted cover prevents leaks and maintains the system’s integrity. Homeowners should carefully examine the edges and the surrounding area to confirm there are no gaps or misalignments.
After confirming that the cover sits flush against the tank, it’s a good idea to perform a quick functionality check. This will help ensure the cover is securely in place and capable of withstanding pressure. Homeowners can take a few moments to assess the overall fit before finalizing the installation:
- Inspect edges for any noticeable gaps.
- Check the alignment with the tank opening.
- Perform a gentle shake to test stability.
As the new septictank cover finds its place, it’s time to ensure everything functions flawlessly. Let’s dive into the crucial post-installation checks that guarantee your system runs smoothly and safely!
Post-Installation Checks for SepticTank Covers
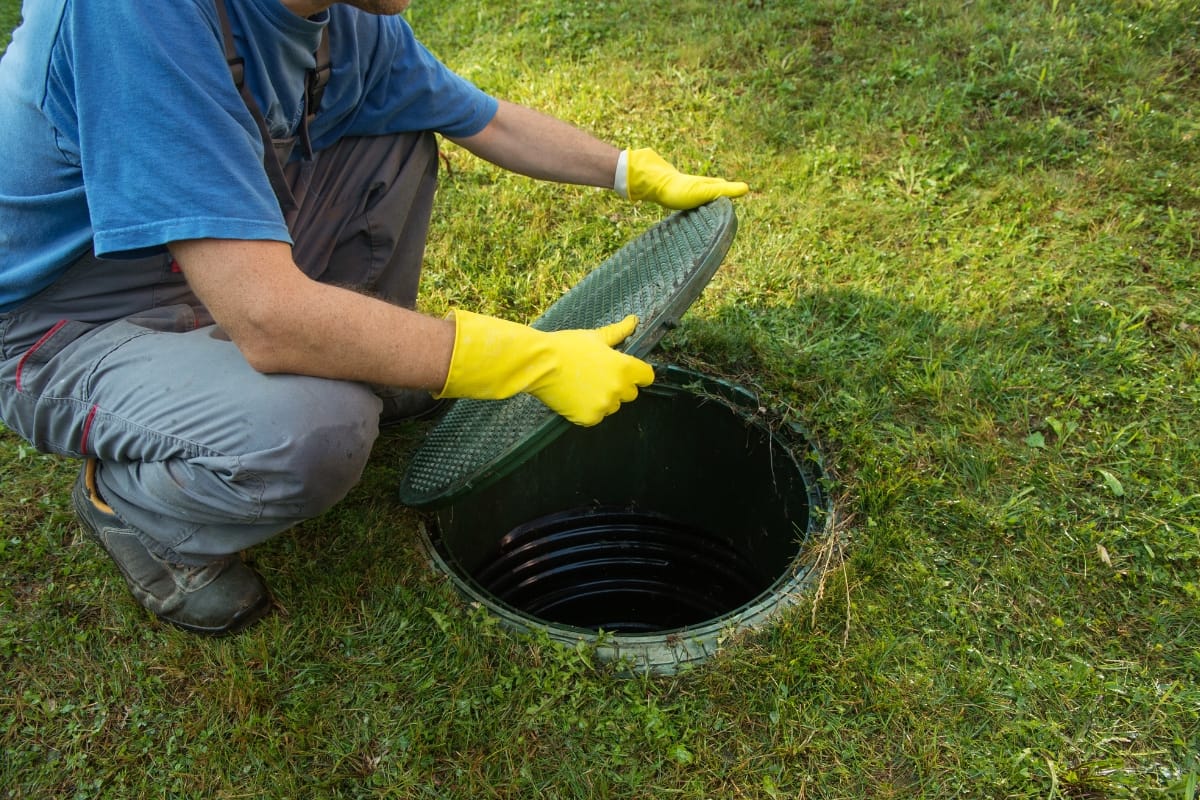
After installing the new septictank cover, it’s time to take some crucial steps to ensure everything is up to par.
Inspecting the Installation for Any Gaps or Misalignments
After putting the new septictank cover in place, it’s vital to check for any gaps or misalignments. Homeowners should take a close look at the edges and the opening to ensure everything lines up perfectly.
If there are any noticeable shifts, it’s important to make the necessary adjustments to secure the cover effectively and avoid potential leaks down the line.
Performing a Weight Test to Ensure Security
After securing the new septictank cover, it’s wise to perform a weight test to ensure everything is in place. This involves gently applying pressure to the cover to check if it holds firmly without shifting.
Conducting this simple test can help prevent future issues, confirming that the cover is robust enough to withstand daily usage and any external forces.
Verifying the Seal Against Water Entry
After the new septictank cover has been installed, it’s essential to verify the seal to prevent water from entering the system.
Homeowners should check around the edges carefully for any signs of gaps or unevenness, ensuring that the cover sits flush against the tank. This step helps maintain the septic system’s functionality and protects it from potential damage due to water infiltration.
To ensure a proper seal, follow these steps:
- Examine the edges of the cover for any visible gaps.
- Run a finger along the perimeter to check for uneven surfaces.
- Look for any signs of moisture accumulation after rain.
Now that the new septictank cover is in place, it’s time to think about keeping it in great shape. Let’s explore some key maintenance tips to ensure your cover lasts for years to come!
Maintenance Tips for Your New SepticTank Cover
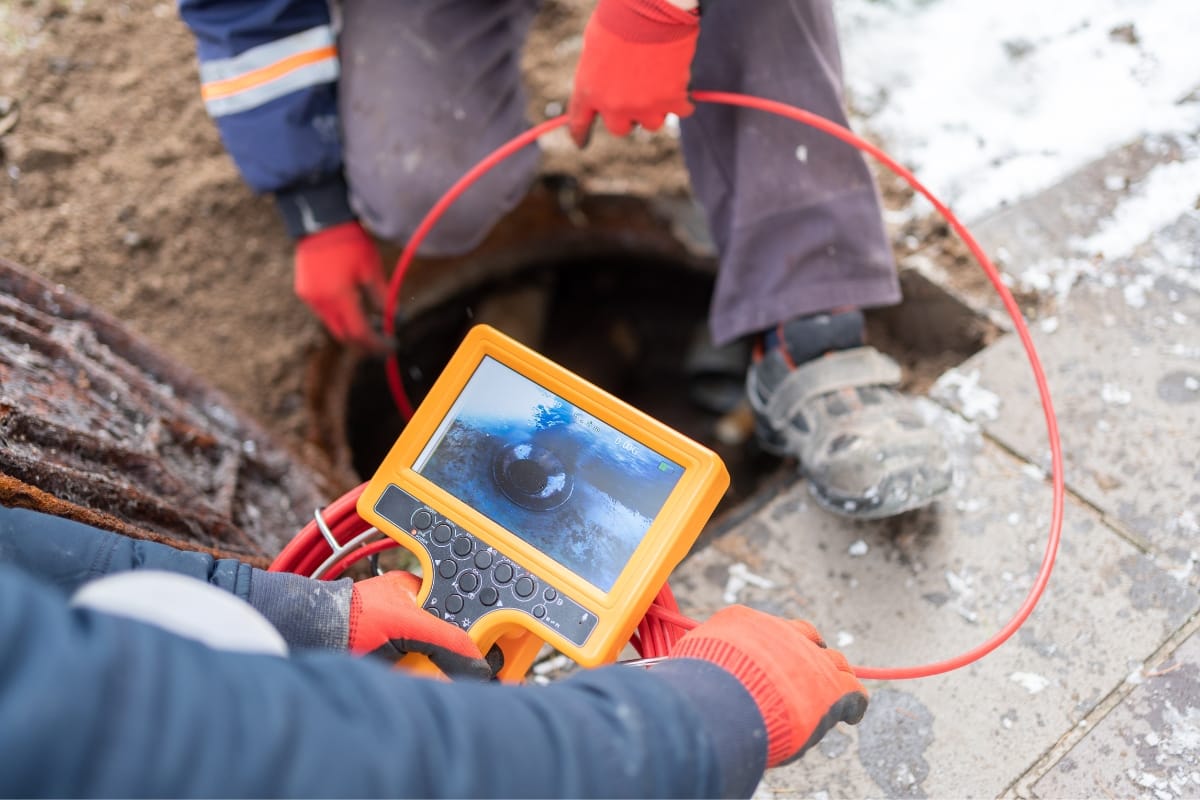
Taking care of a new septictank cover is essential for ensuring its longevity and the overall efficiency of the system. Homeowners should make it a routine to inspect the cover regularly, looking out for any damage that could compromise safety.
By following these maintenance tips, individuals can keep their septic systems running smoothly for years to come.
Regularly Inspecting the Cover for Damage
Regular inspections of the septictank cover play a big role in maintaining its integrity. Homeowners should check for any signs of cracking, warping, or rusting that may compromise safety over time.
Making it a habit to visually assess the cover can help catch potential issues early, ensuring a safer and more efficient septic system.
Keeping the Area Around the SepticTank Clear
Keeping the area around the septictank clear is key to maintaining access and preventing hazards.
A tidy space not only protects the cover from damage but also makes future inspections and maintenance a whole lot easier. By regularly checking for and removing any debris, homeowners can ensure the system stays efficient and safe for everyone.
Scheduling Professional Inspections for Your Septic System
Scheduling professional inspections for a septic system is a smart move for any homeowner. Having experts take a look regularly can catch potential problems before they become serious and costly issues.
This proactive approach helps ensure that the entire system runs smoothly and can extend the life of the septictank and cover.
Key Takeaways About Replacing Septic Tank Lids
Replacing septic tank lids may seem straightforward, but ensuring it’s done safely and securely is essential to maintaining the integrity of your septic system. A properly fitted lid prevents hazards, keeps contaminants sealed, and reduces the risk of damage.
For professional assistance in safely replacing your septic tank lids, trust the expertise of Smart Septic Pros. Our team ensures a job is done right, giving you peace of mind and keeping your system in top condition. Contact us today at 678-993-4545 or fill out our online contact form to schedule a service and keep your septic system running safely.
